Tuckaway 25
Tribute Site |
|
|

|
|
|
|
|
| Table Construction |
|
The secret to this layout's ease of construction lies in its simple table construction. The entire table can be assembled in just an hour or two. To construct the table you will need the following items: |
|
|
|
The 36" x 80" solid-core exterior door is available at most home building supply centers and will cost between $45.00 and $50.00. Don't be concerned about the finish veneer used, as it will be covered by the carpet in a later step. What is important though, is that you purchase a solid-core door. A hollow-core door, while less expensive, will not provide a means of fastening the track to it. You may however be able to purchase a damaged door at an even lower cost. If you do find a damaged door though, make sure it is not warped. |

|
|
|
| Retaining Wall |
|
With the carpet trimmed you are ready to apply the finishing trim to the edge of the table. Cut two lengths of 1"x6" or 1"x8" dimensional lumber to fit along the long sides of the table and fasten them with standard finishing nails. Cut the remaining 1"x6" or 1"x8" board into two 3 foot lengths and nail these to the short ends of the table top. You should use wood glue as well as finishing nails to firmly secure the retaining walls to the table's edge. |

|
|
|
| Track Mounting |
|
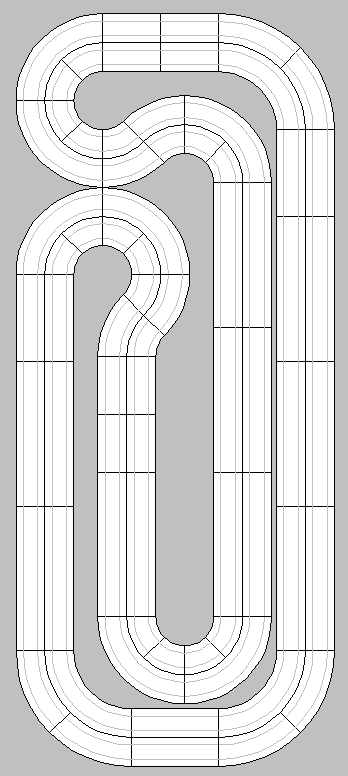
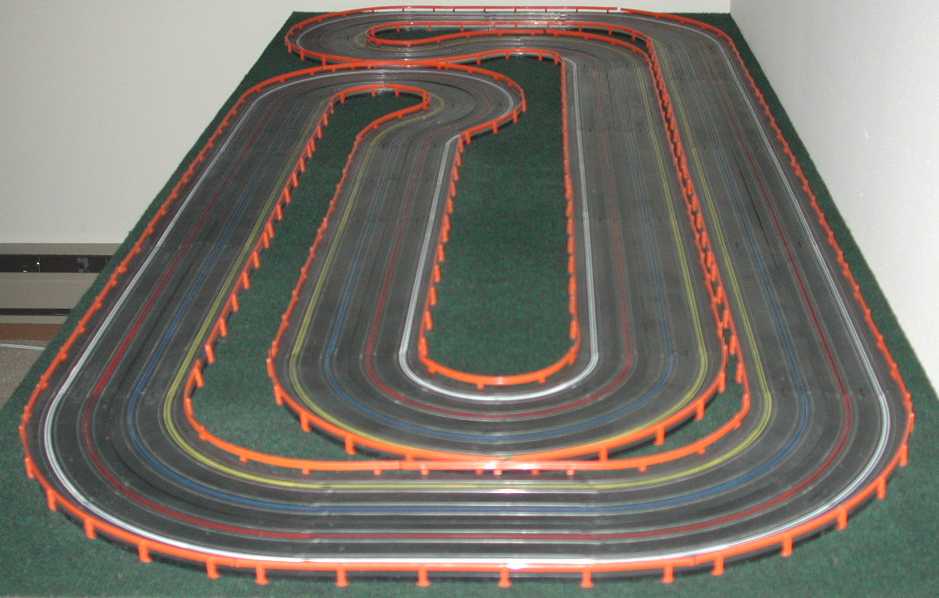
Assemble the entire layout on the table using the Tuckaway 25 layout design sheet. Don't nail the track down yet. The layout will fit on the table with a 1½ inch border along each of the long sides of the table and a 1 inch border on the two short ends. |
|
Each section of AFX track has a small nail hole at each end. Use each and every nail hole provided to securely mount the track to the table top. Use a nail set to drive each nail home as it nears the track surface. When a nail is flush with the track's surface use the nail set to drive the nail in just a bit further. Each nail head should form a small dimple were it meets the track. Do not concern yourself with these dimples, as they will be removed in the next step of construction. When mounting the track also make certain that there are no gaps between the inner and outer track sections that make up the 4-lane width of the layout. |
|
Place the heated soldering iron tip on the top of each nail head and hold it there until the nail head is sufficiently heated. As the nail head heats up it will melt the plastic surrounding it and allow the track section to pop back up to its normal height. This will create a perfectly countersunk nail hole and restore the track to its normal flat position. |

|
|
|